Leaderboard
728x15

Halloween 2014 - First New Prop Part 4

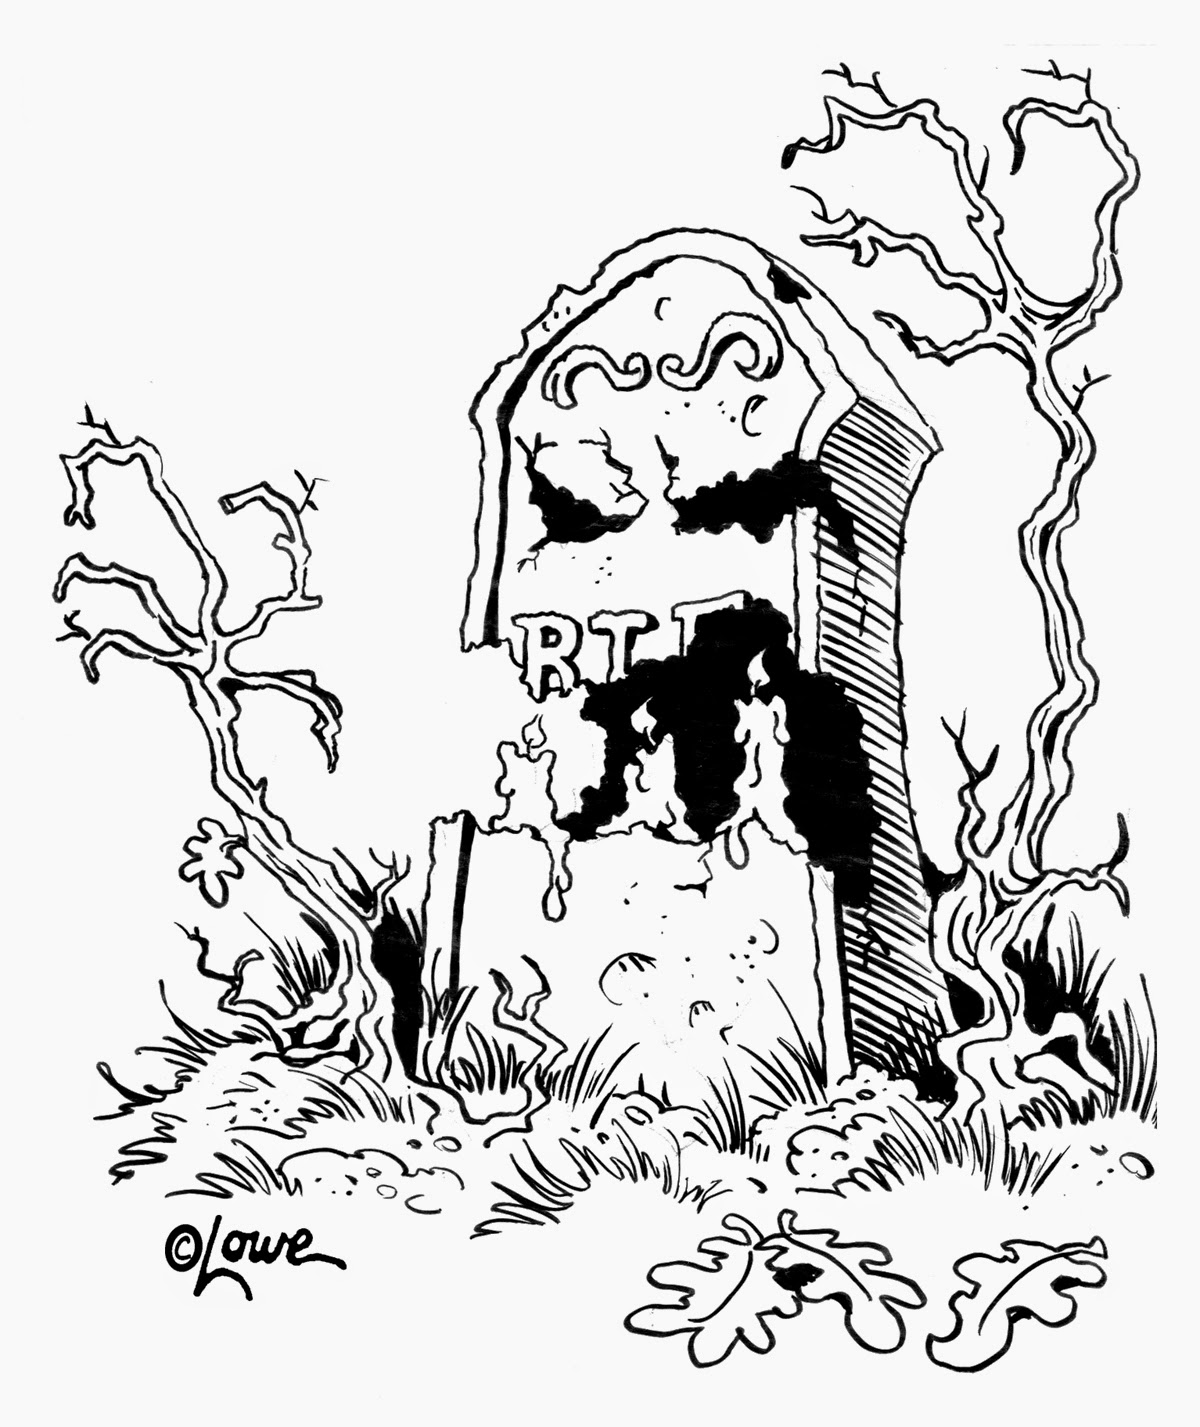
Here's how the gravestone began.

First I used 2 sheets of large foamcore board (30" x 40"). Standard stuff, available at most office supply. If you've followed my blog for awhile, you know foamcore is my "go-to" prop making material. Not that it's the best, it's just what I've grown comfortable using. The same way a chef might have a favorite knife, or a writer has a favorite pencil.

I drew and cut out the shape of the gravestone and basically made a box. The gravestone sides are strips of foamcore scored so they can be bent into a curve. I hot glued it together and used painter's tape as I went along to keep things in place as the glue set up.


Second, I sketched on the eyes and mouth I wanted and cut those out with an X-Acto.


Third, I filled the inside with Great Stuff expanding foam and let dry. Here's a tip, spray bottle misting the foam with water helps speed up it's expansion and drying time.


Now, the combination of the expanding foam and misting created a happy accident that I anticipated and welcomed, The foamcore warped a bit giving the gravestone a more odd and organic shape.

Next, once the foam set up, I sculpted it to make look more natural as if was stone that had broken away.


Then I began to have real fun, cutting out the details and adding cracks with the X-Acto. I also pulled off a lot of the surface paper on the foamcore adding texture.


The Gravestone was then thinly coated with Fix-It-All patching plaster compound tinted with some black india ink making it more grey colored.


Once dry, I went back and added finer cracks (just running a nail through the patching plaster) and sanded edges. Then I started dry brushing with various shades of grey and black washes to bring out details.


Now, with all the added moisture because of the painting, once dry, the gravestone warped more especially at the glue seams and thinner areas I had carved details into. Sometimes it actually split and created gaps. I filled these with ordinary tile grout tinted with some of the paint I was using. The sand in the grout also added some great texture.


Look for Part 5 soon  when I'll be adding the melted candle eyes.

4 Ingredient Peanut Butter Cookies


OK, so I'm on a bit of a peanut butter kick lately. It's one of the few things Bear will eat so I'm trying all the recipes I can.  I whipped these up in a few minutes during nap time today and they are so ooey gooey delicious. And so quick and easy, with 4 ingredients I guarantee you have in your pantry.


Ingredients:

1 cup peanut butter (or any nut butter if you have allergy concerns)
1 cup powdered sugar
1 teaspoon vanilla extract
1 egg

Directions:

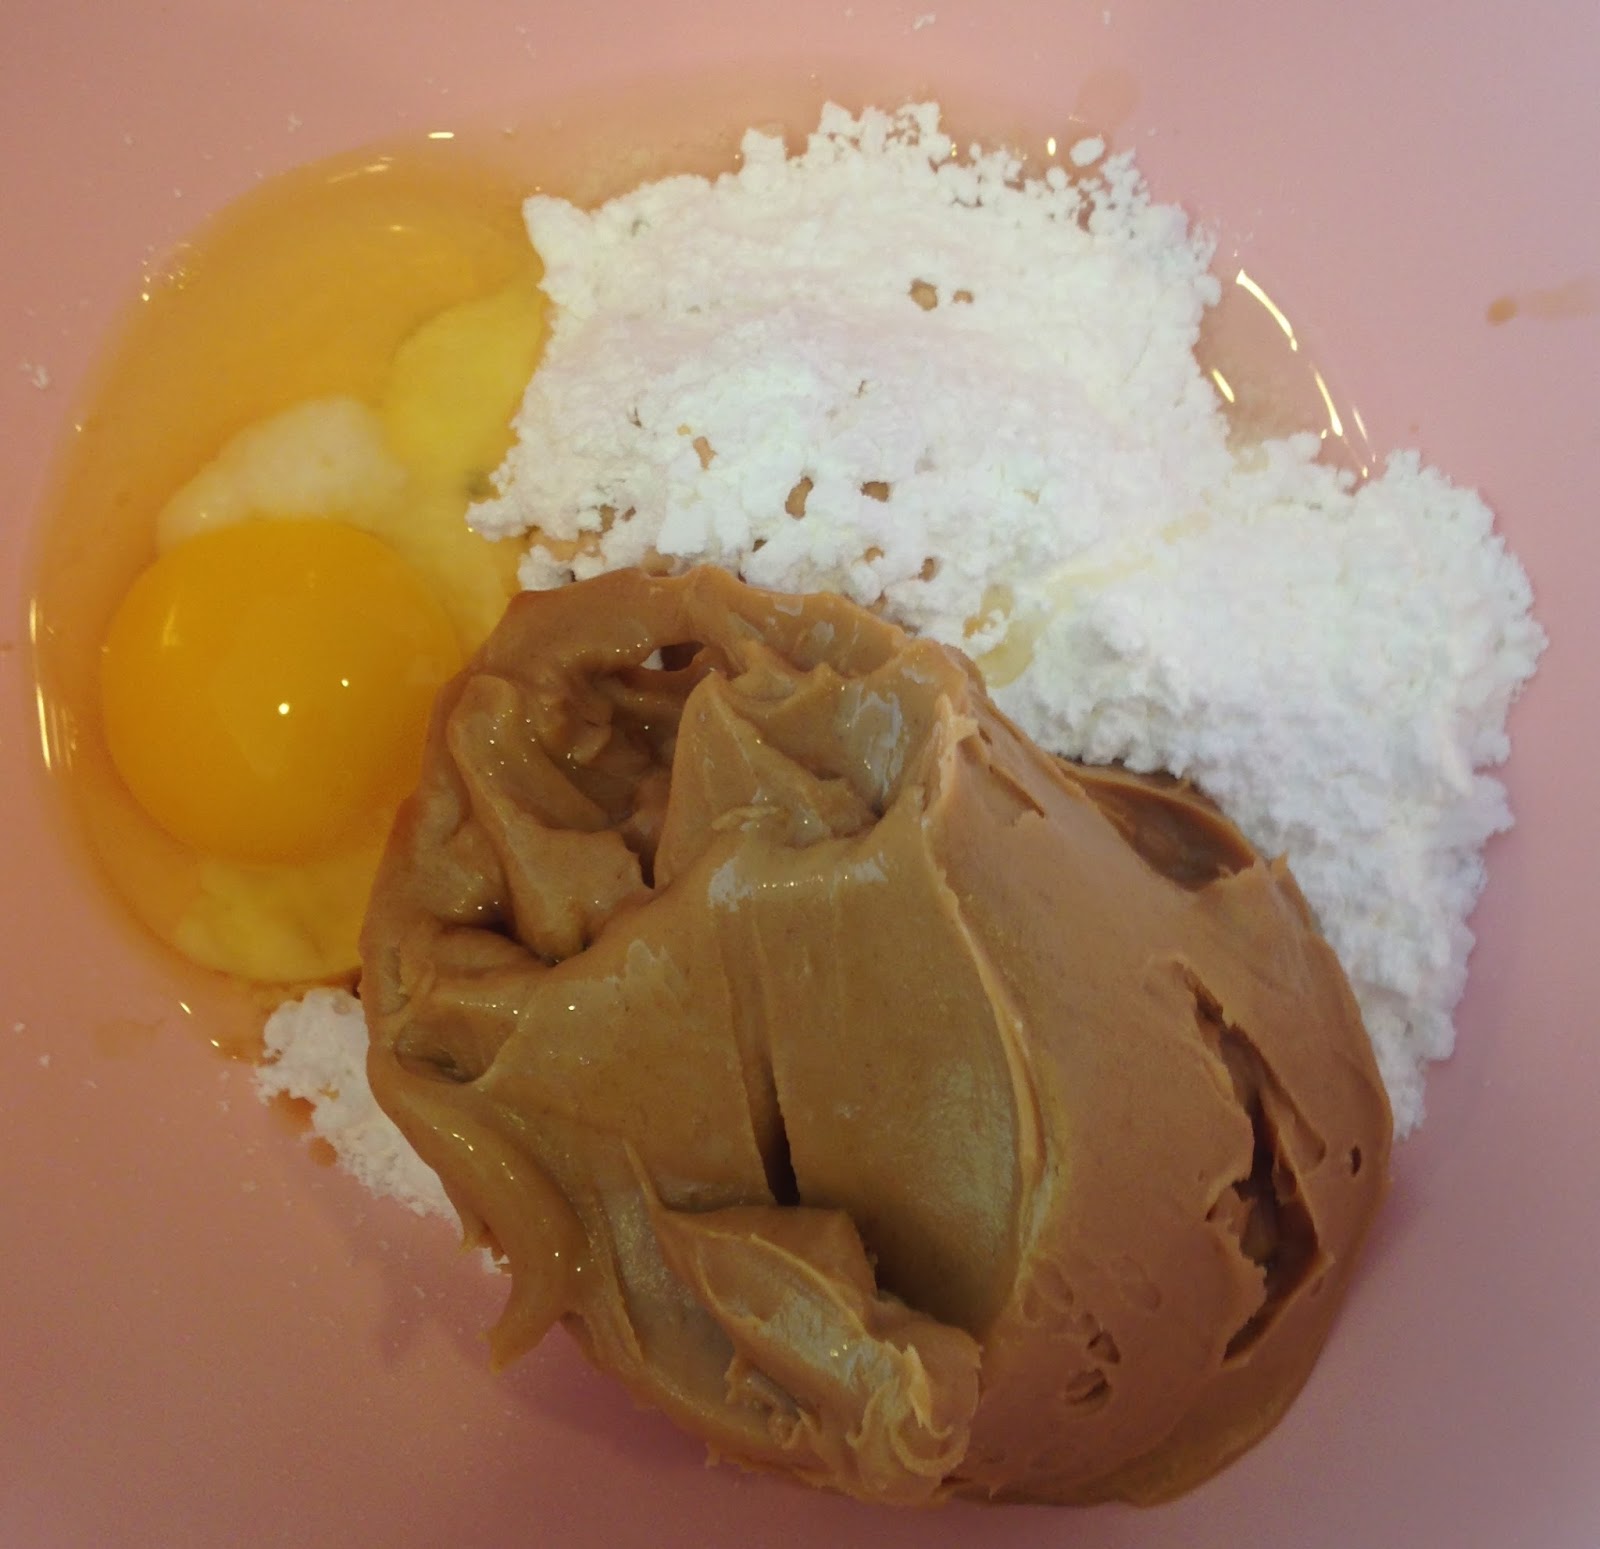
Preheat oven to 375 degrees. Mix all ingredients in a bowl until smooth.


Use a small scoop or roll into 2 inch balls. Place onto greased cookie sheet (or use parchment or silicone liners). Bake for 10 minutes.


That's it! Easy peasy and seriously so good. Enjoy!

Super Easy Coloring Station for Small Spaces

I love nothing more than repurposing something I already have or would otherwise throw away. Seriously, it's the ultimate win win.

Our playroom is undergoing some major redecorating (more on that later!) but I am so excited about this find that I have to share.  I've been working on a craft corner in one part of the room with a coloring station that was accessible but organized, and space is at a premium.  I just couldn't find the right thing, until I bought some new Circo crib sheets at Target (I had major coupons so the sheets were really cheap, another win). Totally unrelated to my playroom... until I opened them up and saw that they came in these awesome little bags.


Well hello! Totally cute, washable, with little hangers sewn in and velcro closures. This was EXACTLY what I needed for my coloring station!


Plenty of room for crayons, markers, pencils, whatever you need. I put a small piece of cardboard at the bottom of the bags to give them some shape. The cardboard the sheets were wrapped in was the perfect length, just needed to be cut to the right width.

I had already bought an awesome hanging basket for coloring books at Ikea. Can't go wrong for $4. I mounted it on the wall, and put the 2 sheet bags next to it (I used Command hooks for the sheet bags as I may move them down when I get art for this space).  So. Easy.


The room is still a major work in progress as I need art, labels, etc... but it looks like Monkey approves so far!


PS - no one paid me to use these products and I won't make any money if you buy them. :)

Painting with Animals and Animal Bath Time! A 2 for 1 indoor activity.

One of my boys is obsessed with his plastic animals, so when I saw this Animal Track Painting activity from No Time For Flash Cards (one of my favorites) I knew we had to try it out. We gave it our own little twist and added some fun indoor water play too.

We started at the kitchen table with our big roll paper taped to the table. I use painter's tape to keep things secure. I gave them a few squirts of washable finger paint, some animals, and let them go.


We had a great time "making tracks" and talking about all the sounds the animals make as they stomped across the paper.


The animals got quite messy, so it was on to part two of our activity... animal bath time!


I put some towels down on the floor, filled a tub with soapy water, and we put the animals in for their bath! I gave them some sponges (they especially loved using my old baby bottle scrubber) and they went to work getting everyone clean.


Rub a dub dub! Things got a little wet but it's just soapy water, and I'm sure my floor needed a cleaning anyway. We had a great time and it was a great activity for a quiet afternoon inside.

5 Ingredient Frozen Peanut Butter Chocolate Chip Pie

They say necessity is the mother of invention. My sweet tooth was calling and I wanted something quick and delicious that I also wouldn't feel guilty serving to the kids. This pie is an amazing sweet treat that is packed with protein.


Ingredients

1 1/2 cups plain Greek yogurt
3/4 cup peanut butter
2 tablespoons pure maple syrup
3/4 cup chocolate chips (can use more or less to taste)
Store bought graham cracker crust (or make your own, but then it's more than 5 ingredients)

Directions

Mix yogurt, peanut butter, and maple syrup in a large bowl. Stir in chocolate chips.


Spread into pie crust.


Cover and freeze for several hours (until solid). Serve and enjoy!!


3 Ingredients for Backyard Fun (easy and cheap!)

3 Ingredients for Backyard Fun.

We love being outside. I am completely convinced that time spent playing outside makes my kids happier and healthier. It seems there's an endless supply of fancy (read: expensive) toys designed for outdoor play. That's great if you've got money to throw away, but I am a firm believer that outdoor fun should be simple, cheap, and easy. Throw in some sunshine and you've got a recipe for hours of fun. Here's my top 3 essentials to keep little ones occupied for hours:


Water
So easy. Seriously. We have a water table that the boys got for Christmas last year, and it is awesome. Fill it up and go. But you don't need a fancy table that can go from $40 up to $70-$80! A good sized plastic tub will do the job just fine. An under bed box size is perfect. The possibilities are endless - we have used it as a Toy Truck Wash (from Paging Fun Mums) and a plastic animal bath. We love to "paint" with water too.  Repurpose some old cups and scoops and your little ones will be entertained for hours.

We also have one of those awesome beach ball sprinklers, and my little ones won't go near it. Instead, they beg for the hose. So simple. Just use the "mist" setting on your spray nozzle and they will laugh wildly. I promise.

Sand
There's a reason that sand boxes have been around forever. It's because they're awesome and toddlers love them. We got ours for free on craigslist, so again, don't spend a lot on something fancy here. A second under bed size plastic box works great here too (just make sure you have a tight fitting lid to keep critters out).  Get creative with what you use in the sandbox - cars, trucks, measuring cups, funnels... the possibilities are endless!

Sidewalk Chalk
I love sidewalk chalk. It's cheap (I got a box of 50 for $5 at the grocery store) though you can make your own. I love this idea for erupting ice chalk (from Learn Play Imagine). We use it on our patio, picnic table, and sliding glass door. Occasionally on our white dog too (he's a good sport). It washes right off so after a rain we get a fresh canvas. Love it!


Add in a little sunscreen, some snacks, and this is really all you need for hours of fresh air entertainment. Get outside and enjoy!

An Introduction

I don't know if anyone will read this, so I kind of feel like I'm sitting here talking to myself. Which is not all that unusual for me as a stay at home mom of twin toddlers. But I'm not writing this for an audience, right now it's just for me, and my family. You see, I'm really bad at baby books. I mean really bad. When I was pregnant with my boys, I bought these adorable baby books with the best of intentions. And the "before you were born" sections are gorgeous - all photos and captions and bells and whistles. Then I had twins, and well... getting a shower and more than an hour's sleep was a major accomplishment for the first year (or two, but who's counting?). My boys just turned two and I feel like their lives are just flying by. So I'd like to document some of our adventures this way, and if it gives another family an idea for fun, or a good healthy meal, or a new way to do something, then awesome. Because moms need to share and support each other, don't you think?

The other inspiration for this blog is my dad. He passed away in March, and I miss him terribly every day. I miss talking to him and sharing pictures of the boys and telling him about my day. He was the most amazing, positive person I have ever met, and in a way I can talk to him here. The name of this blog is inspired by him. He had a lung transplant three years before he died, and he went through hell and back to spend those three extra years with his family. Hospital visits, procedures, more medication than you can imagine, and he always had a great outlook and a smile on his face. His mantra was, "every day is a good day, even when it rains." Since we lost him, I've tried to carry on this attitude and make every day a sunny day.

So if you are reading this, welcome. Let's make it a good day.

Oh Netflix

You really are my BFF.


Halloween 2014 - First New Prop Part 3

It hit me that it's not my style to be so secretive and teasing with my prop builds. I was at first because it was a gravestone making contest, but since I'm out of the competition (missed deadline), who cares right?

Mine is based on this really old idea I sketched and posted about years ago ( old post here ).


 This is where the build is at right now.


How I created it this far will be in future posts. Right now I'm working on the tendril arm branches. Which I'm having fun creating, inspired by the work of Pumpkinrot and the late John Wolfe of Seasons of Shadows.


Nowhere near done yet, I'm only finding time to work on for an hour or so every 3 or 4 days. In the meantime, I'll retro-post the "making of" so far over the next week or so.

Halloween 2014 - First New Prop Part 2

I missed the tombstone contest deadline, so I'm out, but I'm still working on. Here's a sneak peek of it so far. Should have done by week's end.

Season Two of Home and Family is Done!


Happy to say season two has wrapped, and I'll be back working on season three in early September. In the meantime, gives me time to rest, work on some personal projects (Halloween stuff perhaps) and blog more.
Leaderboard